Putting Docker, Pi-Hole, etc. on my Raspberry Pi 3 Model B
18 Apr 2023The last Raspberry Pi I bought was a version 3 Model B. Initially it served me well as a Kodi streaming box and as console for playing Super Mario 3 via EmulationStation. Both use cases vanished when I got an Apple TV where I run Infuse and Provenance. So the Pi was put into storage with its two unused Version 1 siblings. Fast forward to April 2023, my friend Miguel told me he put Docker on his Pi and runs some containers on top of it. I always wanted to try Pi-Hole but never took the time to give it a go.
On my Mac I used the official Raspberry Pi OS Imager to put the operating system on my micro SD card. My mind was mildly blown by how much that tool has evolved, giving options to already configuring the hostname, setting up the user, authorized_keys, Wifi, locale and keyboard.
Docker
Getting Docker up and running was also just a matter of punching in a few commands:
curl -fsSL https://get.docker.com -o get-docker.sh
sudo sh get-docker.sh
# Verify that Docker works as intended:
sudo docker info
Clean up once the installation succeeded:
rm get-docker.shPortainer
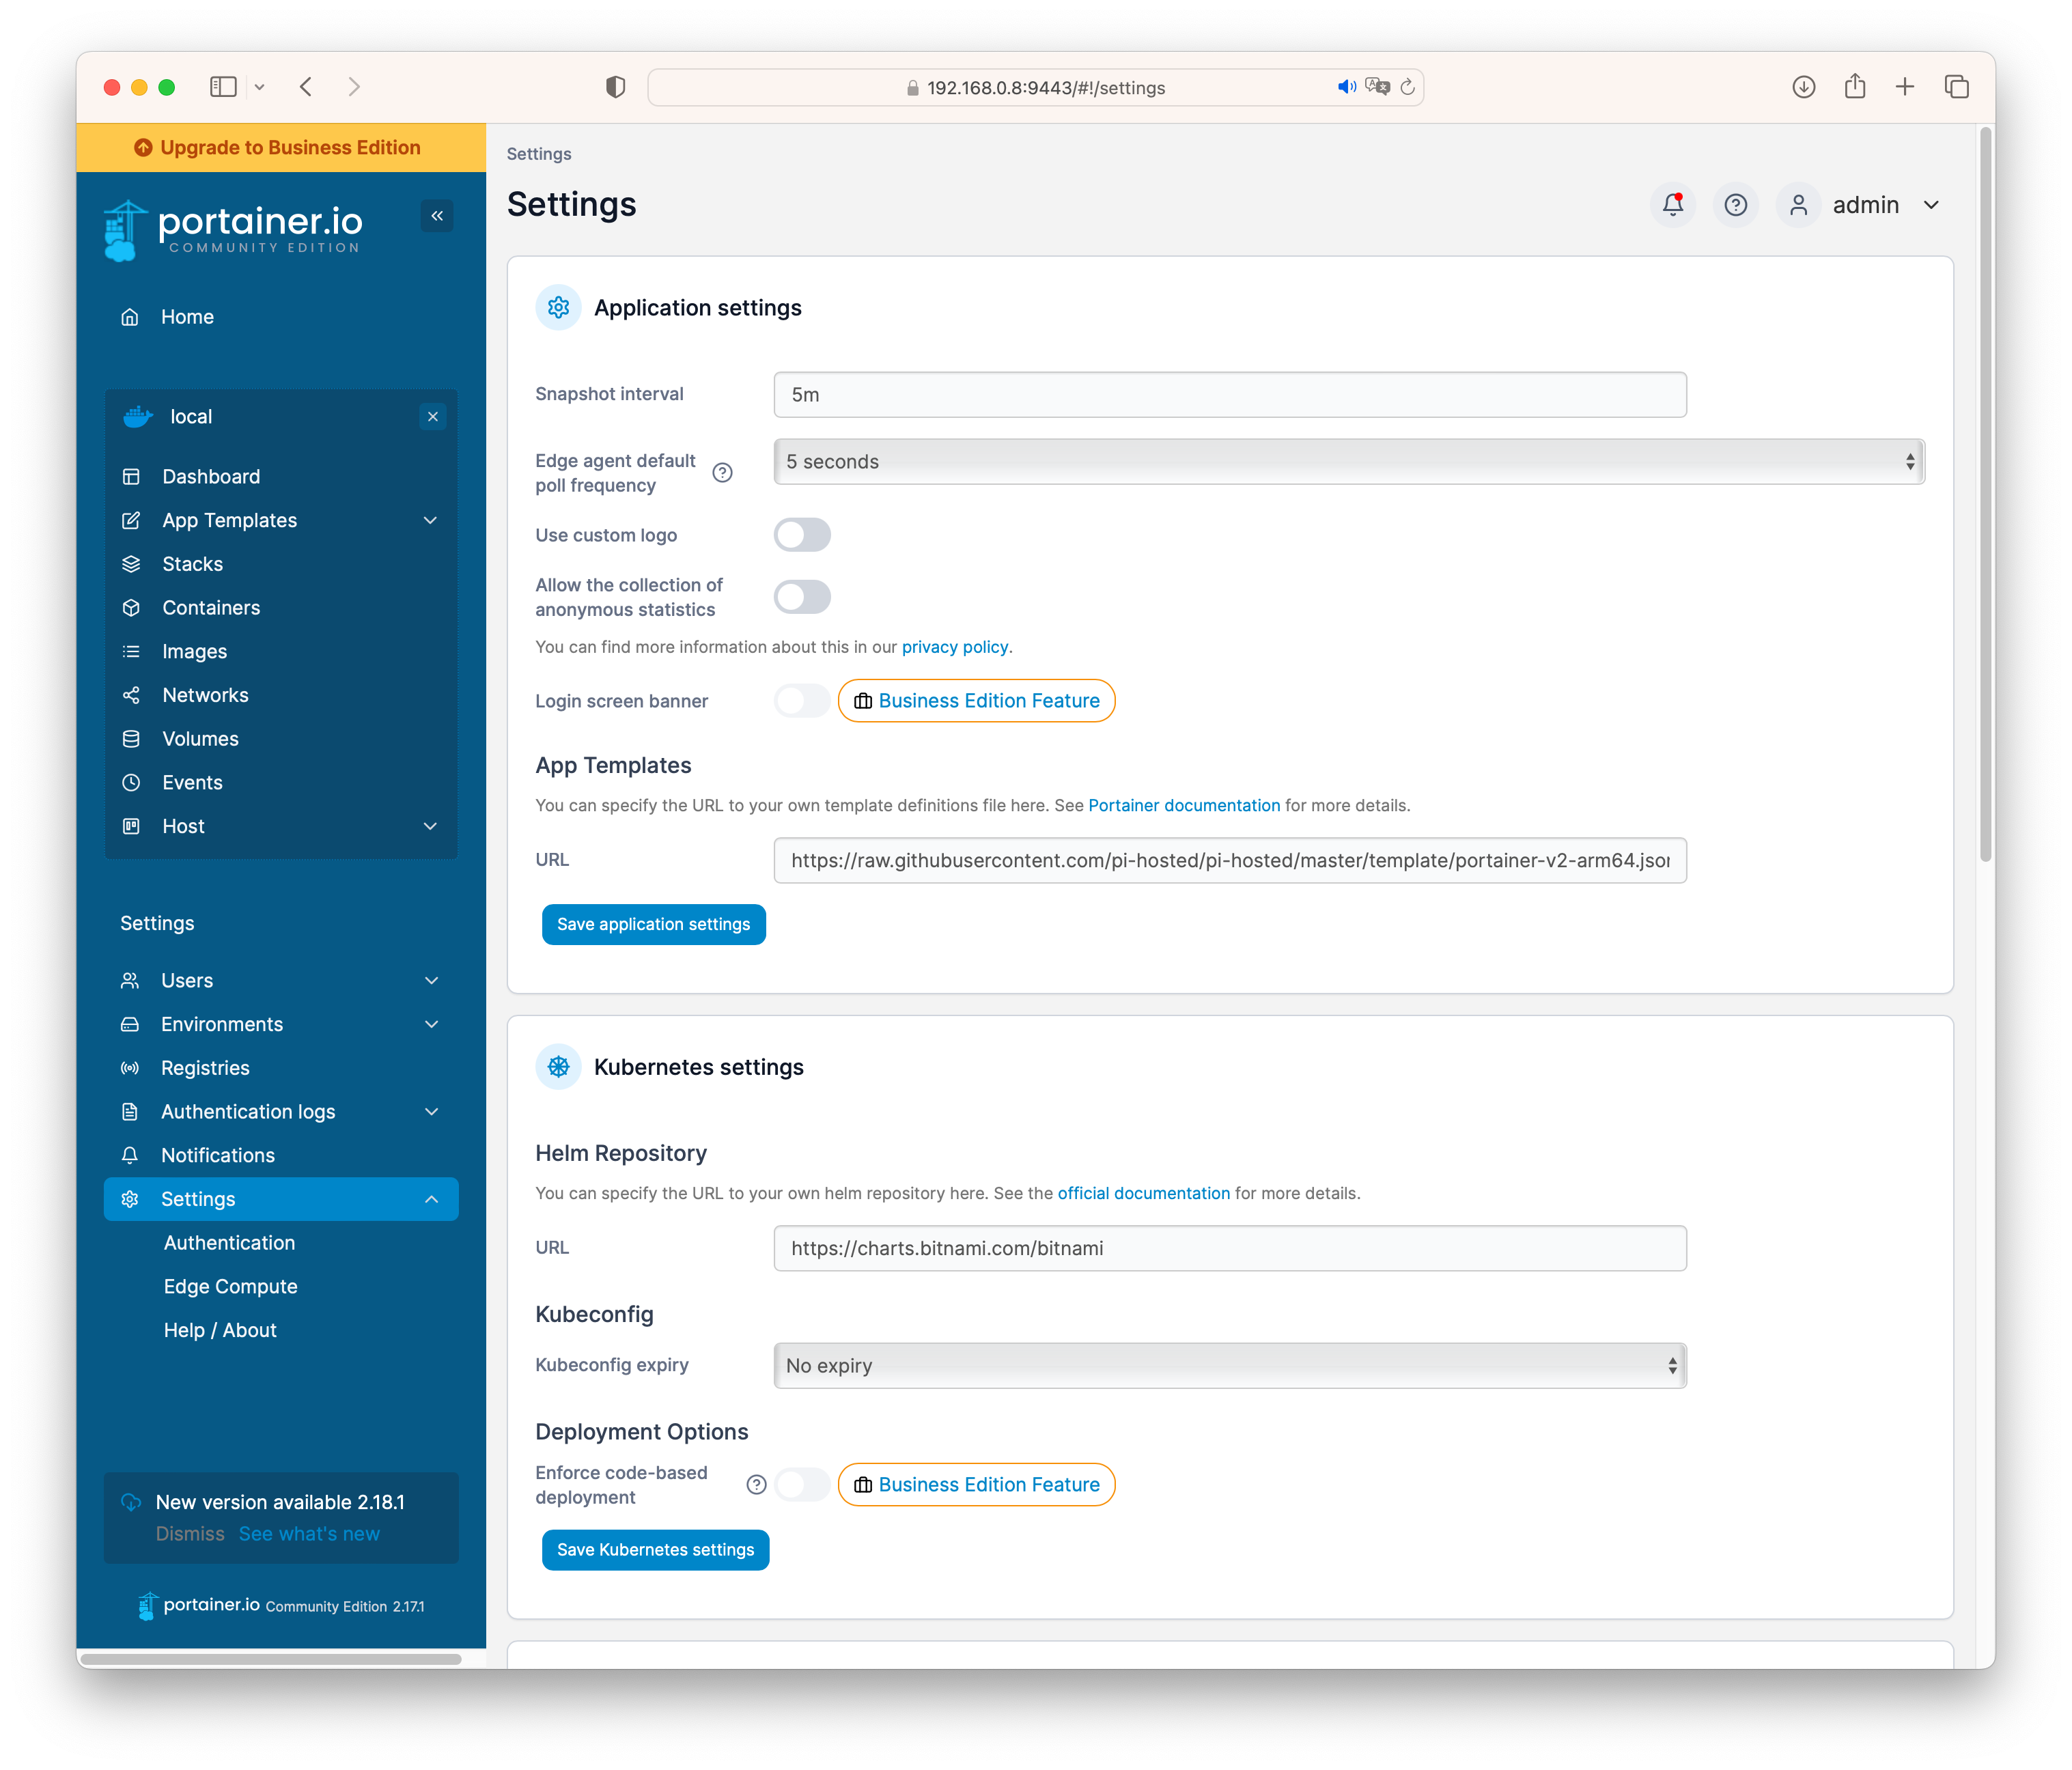
To make managing Docker easier Miguel recommended installing Portainer. You can simply install the Community edition and run it in a container. Here is a link to the guide I followed. The installation was straight forward:
# Create a storage on the host where the Portainer client can persist its databases
sudo docker volume create portainer_data

# Download the Portainer image, setup port forwarding and map the storage
sudo docker run -d \
  -p 8000:8000 \
  -p 9443:9443 \
  --name portainer \
  --restart=always \
  -v /var/run/docker.sock:/var/run/docker.sock \
  -v portainer_data:/data portainer/portainer-ce:latest

# Verify that the app is up and running
sudo docker ps
After that I was able to complete the setup in the web frontend, which is available on port 9443 of your Pi’s IP address, e.g. https://192.168.0.200:9443.
Pi-Hole
To get Pi-Hole up and running I first changed the app templates URL in Portainer to pi-hosted’s list: https://raw.githubusercontent.com/pi-hosted/pi-hosted/master/template/portainer-v2-arm64.json.
Now we have a massive amount of application templates available:

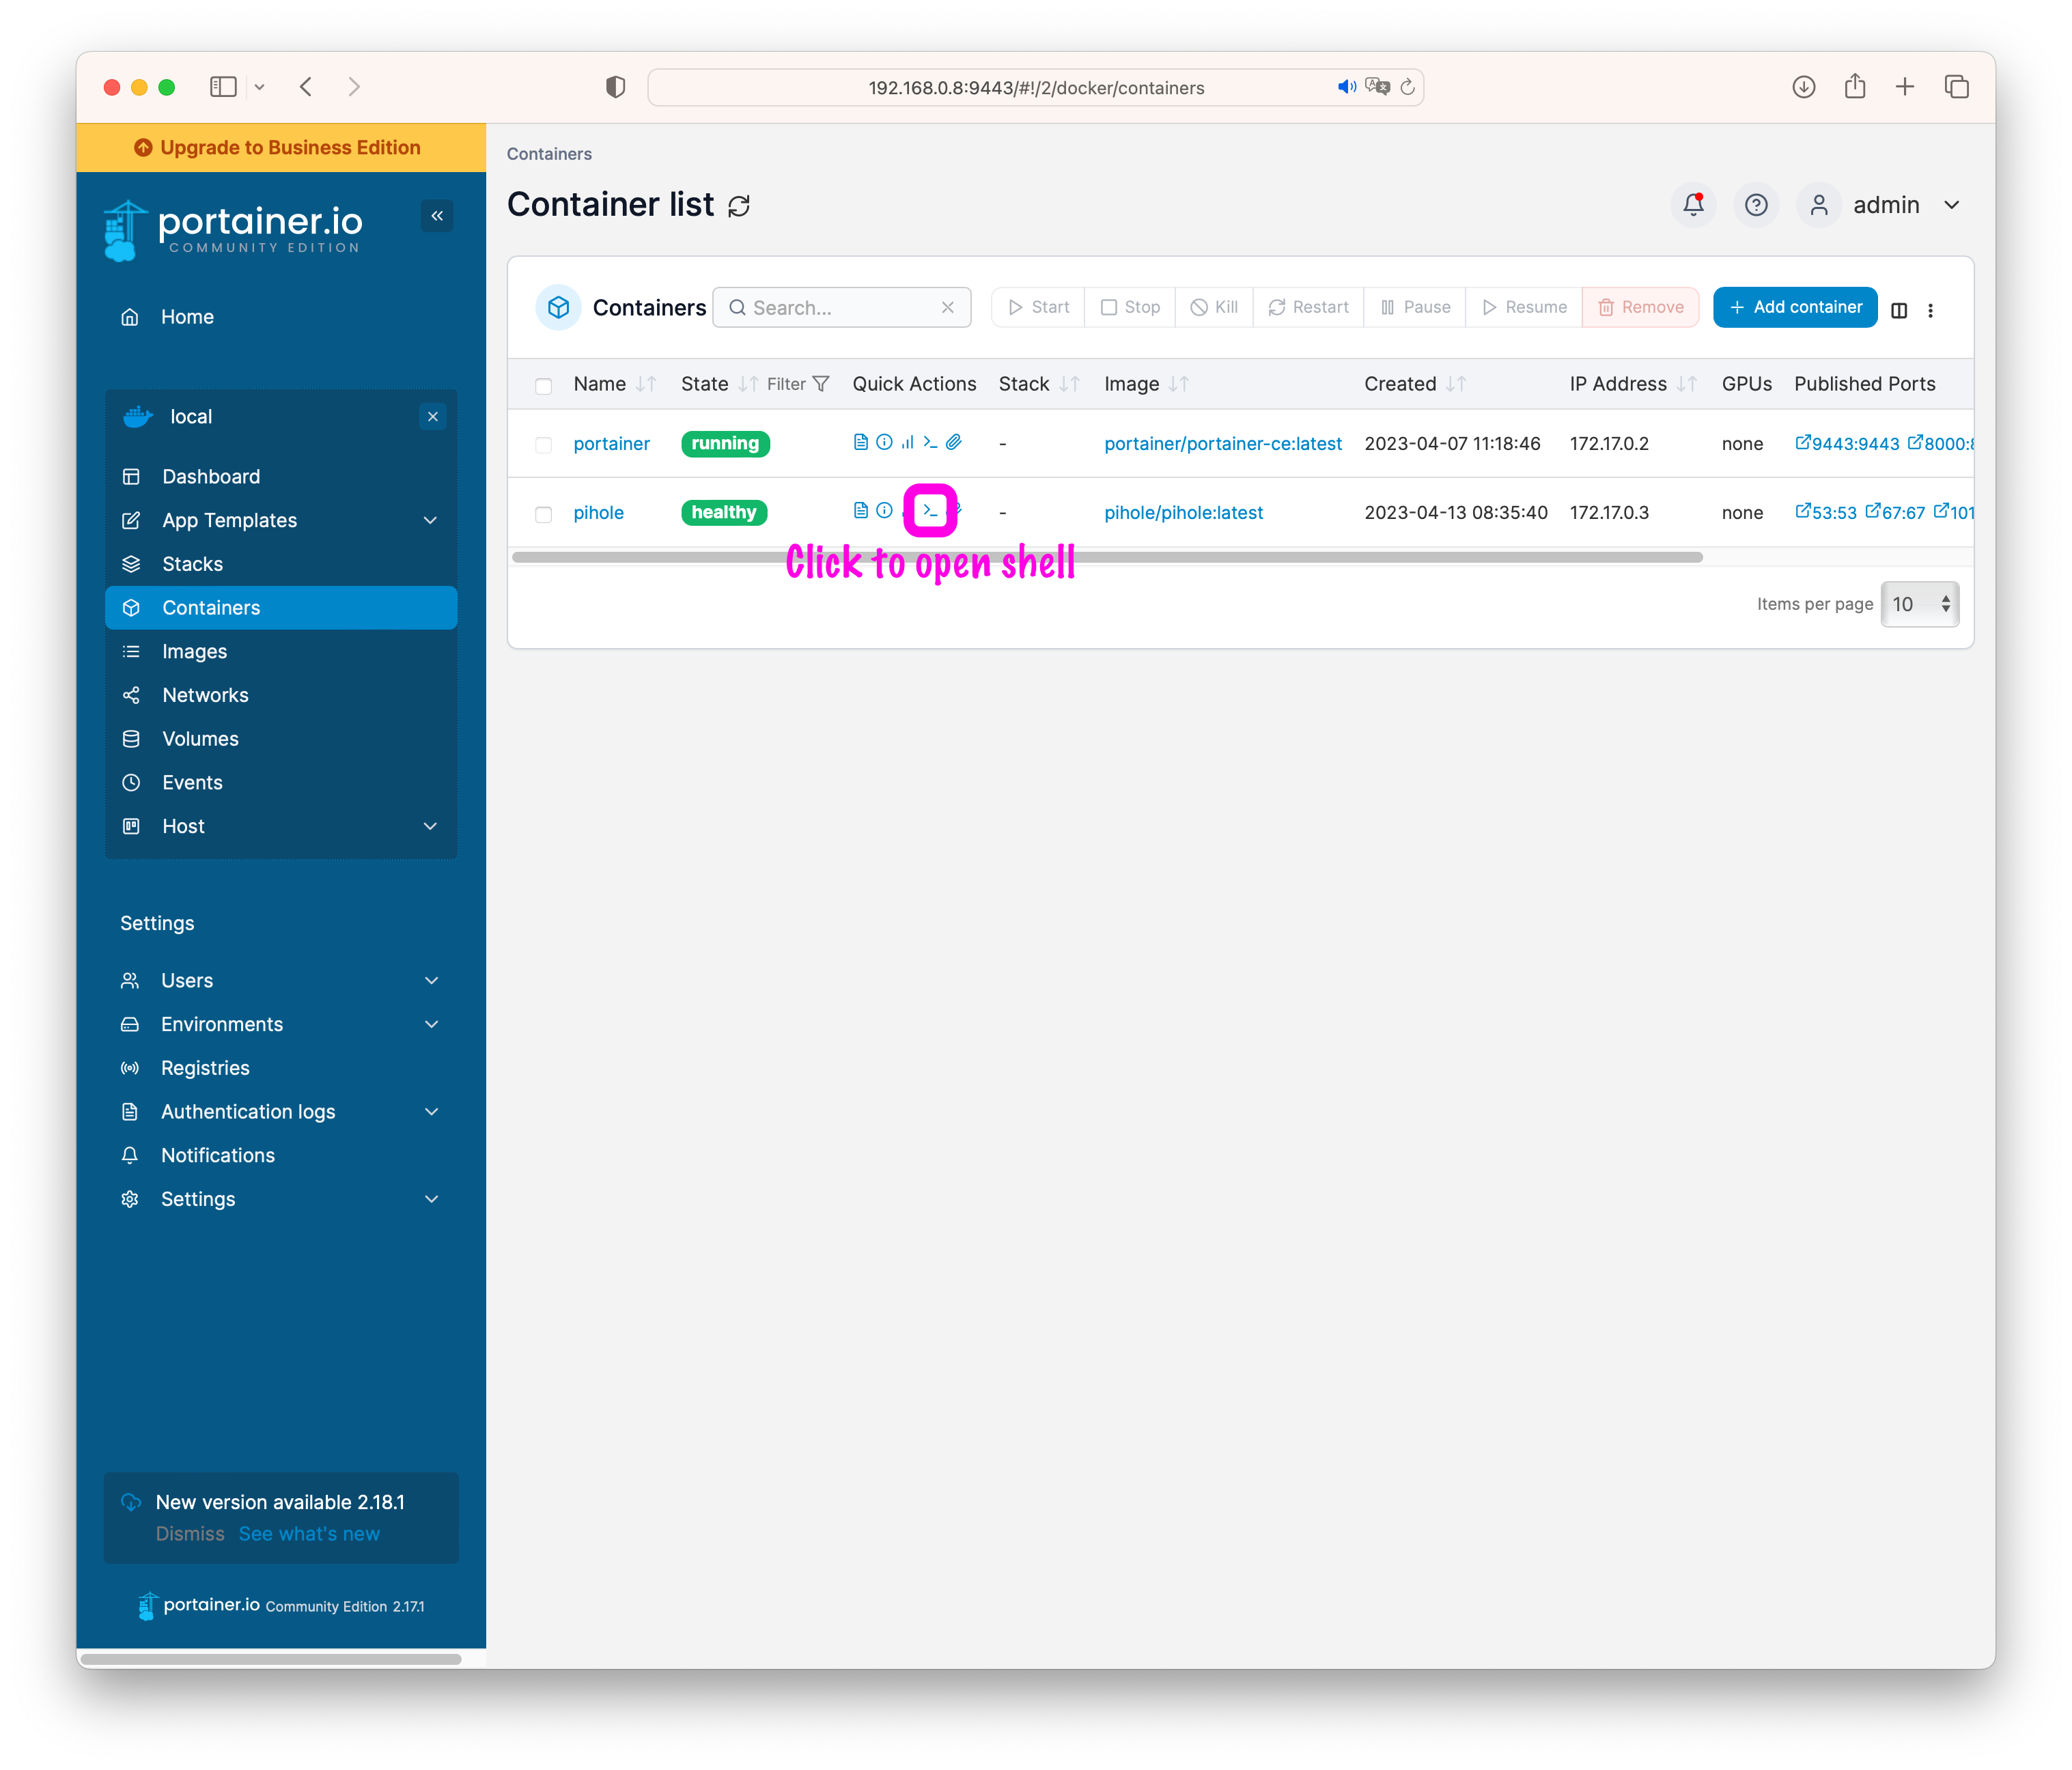
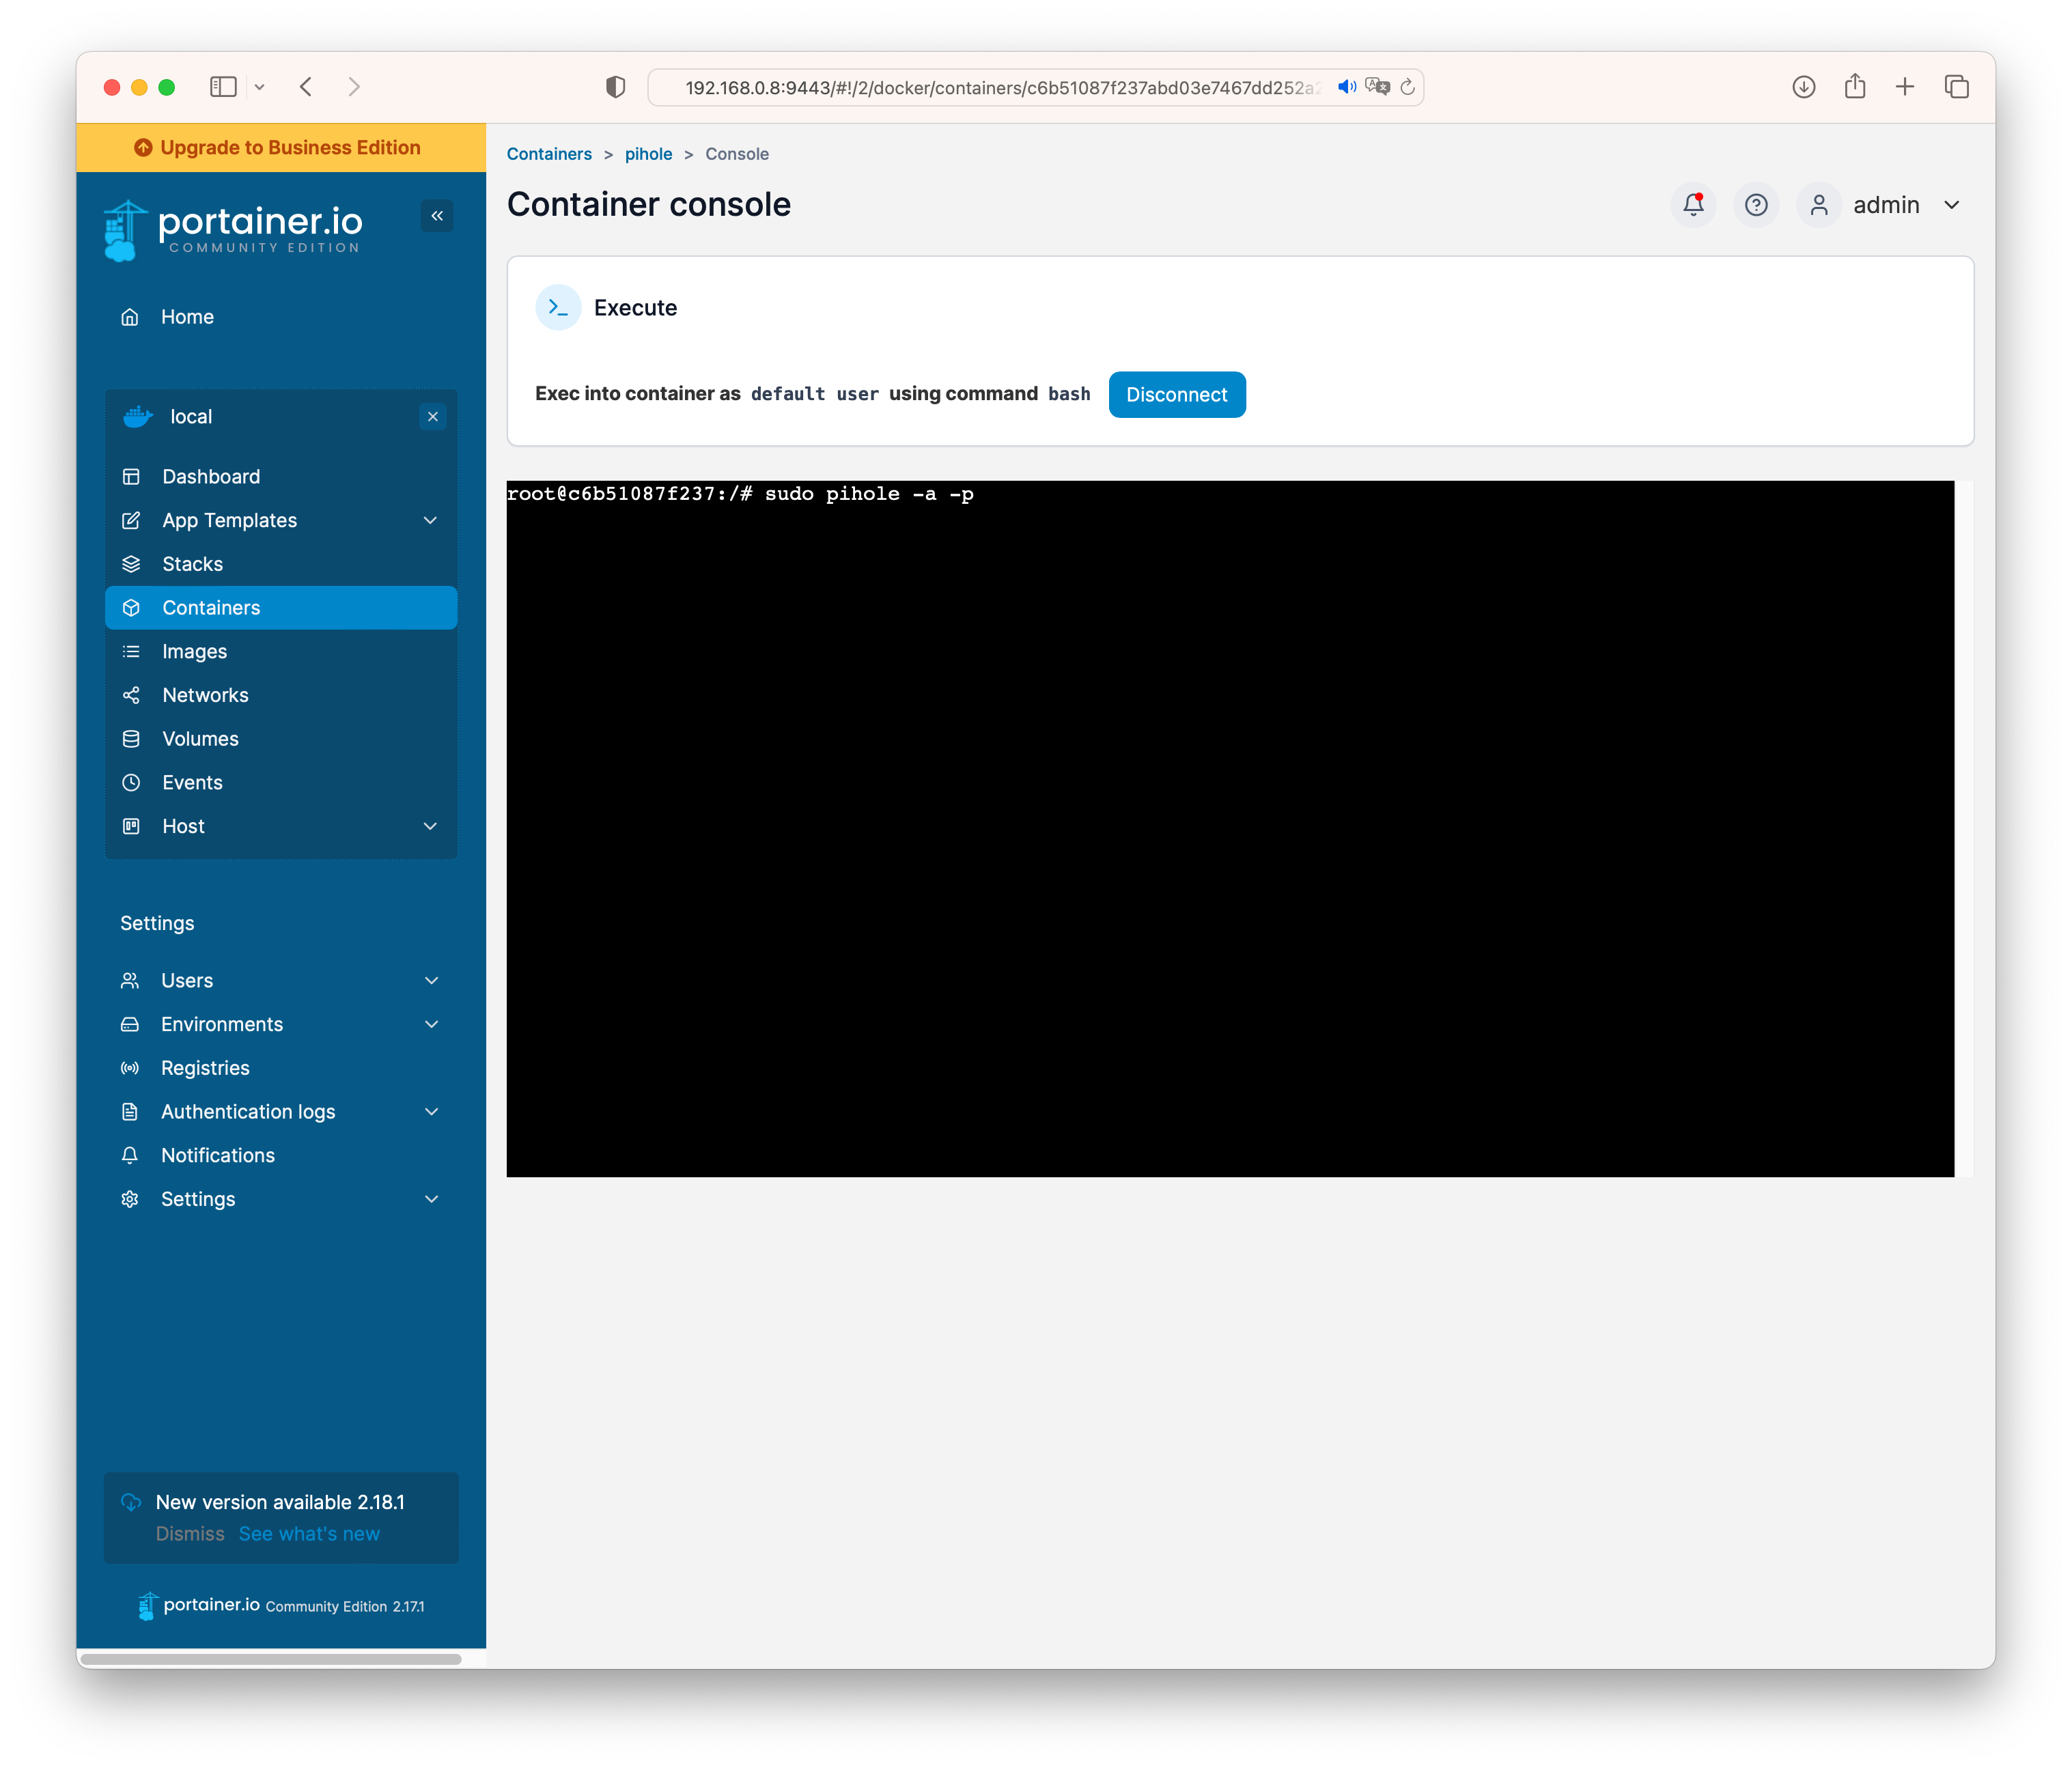
I went with the basic Pi-Hole templates. With pretty much one click we get a working instance with ports and volumes mapped ✨. I had problems reaching Pi-Hole with nslookup on the bridged network - port 53 was not reachable with UDP. A web search suggested to use the host network instead, but that meant that the web interface would use port 80 of the host. According to the docs we should add FTLCONF_dns_listeningMode: 'all' as an environment variable and that resolved my issue. On a bridged network the Pi-Hole webinterface will be available on port 1010 of the Pi’s IP address, e.g. http://192.168.0.200:1010/admin/. To (re-)set the admin password open a root shell from Portainer and run this command: pihole setpassword
On your local machine you can now verify that Pi-Hole is running correctly by asking it to resolve a domain name (replace the IP address with your Pi’s IP):
nslookup google.com 192.168.0.200If you get a proper response you are good to go. On a Mac open your System Settings application and navigate to Network, your current network device, click “Details…” and go to “DNS”. Here you can add your Pi’s IP address (and maybe remove the others).
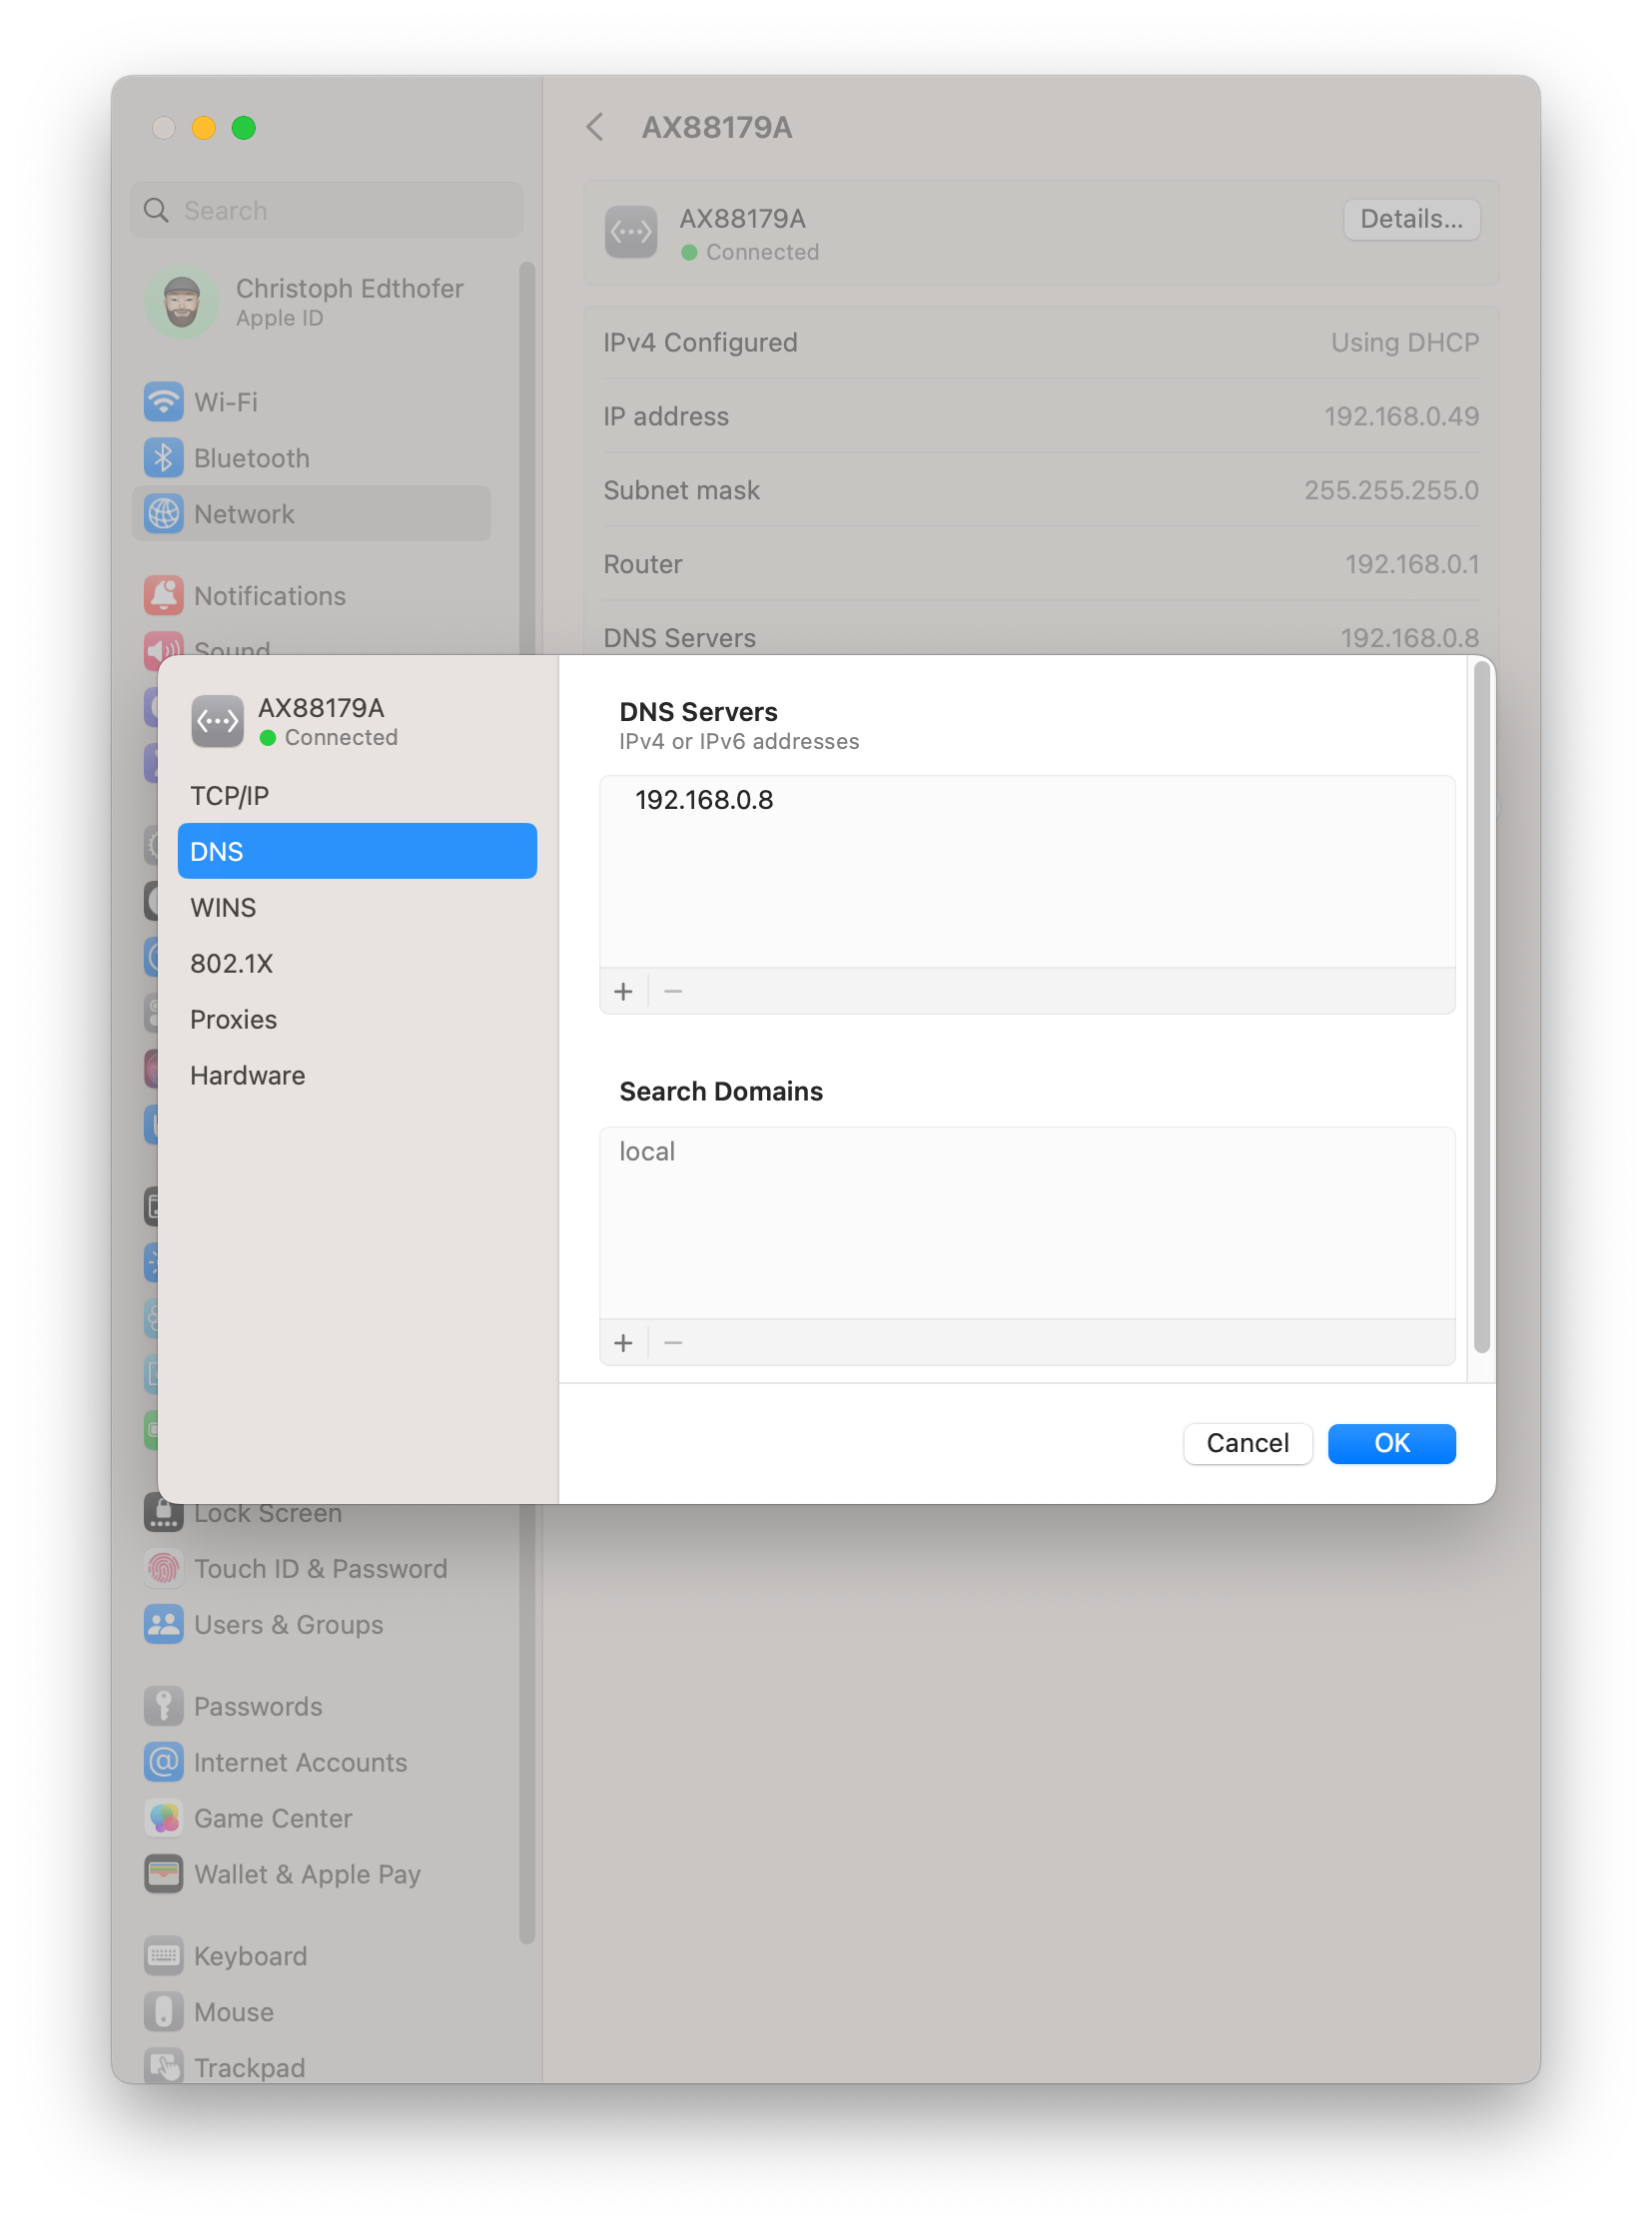
To prevent all sorts of weirdnesses I recommend flushing the DNS cache and rebooting the machine:
sudo dscacheutil -flushcache; sudo killall -HUP mDNSResponderNow we can enjoy (almost) ad-free browsing! Be sure to repeat this for all of your device where you want to see ads blocked.
Outlook
The experience so far was pretty smooth and I’m looking forward to using Docker more for my side projects. I want to write a small backend with Swift Vapor and dockerize an existing Rails application. In the vast amount of application templates I identified a few that I’ll try soon: